Private Ticket Management
Step-by-Step Instructions
1. Create your tickets
Steps
-
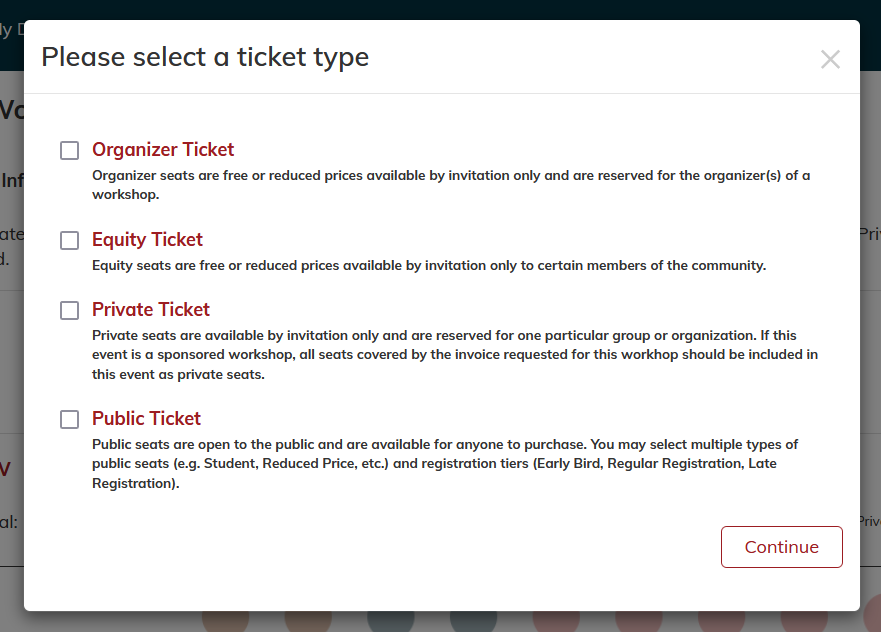
- Click “Create Ticket” to add tickets to the workshop.
- Select “Private Seat”. The “Ticketing Details” window will open automatically.
Note: Trainers and admins can add multiple types of tickets to a workshop to accept registrations.


2. Enter ticket information into the “Ticketing Details” window.
Note: For free tickets, enter $0 as the cost. If all information is accurate, select “Submit”.

3. A few notes about Editing Tickets
-
-
- Once tickets are added, they can be edited or deleted at any point before they are registered for.
- Multiple rows of the same ticket type can be added. (For example, if there should be private tickets available at two different price points, simply click “Create Ticket” a second time and select “private” to add another ticket row of the same type.)
- If attendees are registered for this ticket type, the ticket can not be altered unless the attendee is refunded.
-
4. Ticket Invitations
When you create a Ticket Invitation, the LMS will automatically send the invitations as soon as the event is published. You may also create invitations after the event is published, in which case the invites are sent by LMS immediately. You may create ticket invitations for individuls, or for multiple seats to one organizer.
Steps to create invitations before your workshop is published
-
-
- From the Ticketing Information page, select “New Invitation”. A new menu for your invitation information will appear. (You may need to save, continue onto the next page, and then return to tickets for the Ticket Invitations section to appear.)
- Fill out your organizer/attendee information.
- Select “Save”.
-

Steps to creating an invitation after your workshop is published
-
-
- From the Event Management page, click “New Invitation”
- This will populate a new menu for your ticket information with an additional field to select what kind of private ticket you are creating an invitation for (equity seat, organizer, etc.)
- Fill out the information in the menu
- Click “Send Invitation”.
-

Managing Ticket Invitations
To manage your ticket invitations, go to the event management page and select the three red dots on the right hand side of your invitation. This menu has three options:
-
-
- Resend Invitation Email: This will resend the invitation to the original recipient email
- Copy Link: This will create and copy a registration link for your private ticket.
- Edit: This will allow you to edit how many tickets your invitation is valid for.
-
Note This will not allow you to edit the recipient of the invitation. If you need to send the invitation to someone else, you can either copy the link as per the instructions above or create a new invitation.

