Creating a Workshop Draft
Part 1 | Basic Information and Workshop Description
Part 2 | Invoice Request Form and Ticketing Information
Part 3 | Fine Print
Step-by-Step Instructions
1. To create a workshop, click + Create Workshop in the upper right on the dashboard page.

2. When creating a new workshop, you will be guided through different sections of event creation.
-
-
- Required fields will be marked with an asterisk and you will not be allowed to complete the event if these fields are blank.
- Standardized sections from Spinning Babies® or the Trainer will be prefilled.
-
- Spinning Babies® standardized sections cannot be edited by the Trainer.
- Trainer standardized sections can be edited by the Trainer.
-
- Edits made to the workshop draft will only be reflected in that workshop listing.
- If a Trainer desires to edit their standardized sections for all future events, they can edit from their profile.
-
-
-
3. Basic Information
A. Workshop Name: This field will be filled by Admin after the workshop draft has been submitted. It can be left blank.
B. Workshop Type: Trainers may organize any workshop types as listed in their contracts. The following workshop types can be created through the LMS system:

C. Hosted or Sponsored Workshop
-
-
-
-
-
-
- Use the Hosted or Sponsored Buttons to indicate which kind of workshop you are creating.
-
-
-
-
-

D. Cover Image
-
-
-
-
-
-
-
-
-
-
-
- Use the Cover Image section to upload an image for your workshop

1. This should be a high quality, landscape oriented image
2. Should Include Trainer teaching at a Spinning Babies® Workshop
3. Should be a photo that you have permissions to use
- Use the Cover Image section to upload an image for your workshop
-
-
-
-
-
-
-
-
-
-
E. Workshop Location

-
-
-
-
-
-
-
-
-
- Use the Delivery Method section to indicate whether you are making an in-person event or a hybrid event.
- Use the Address field to search for your venue. This field uses Google Maps to search for the exact address.
- If a workshop has a “Hybrid” delivery method, a link field will appear so you can supply a link to the online meeting.
-
-
-
-
-
-
-
-

-
-
-
-
-
-
-
-
-
-
-
- Please indicate which dates/times will be in person and online when entering the date/time of the workshop.
-
-
-
-
-
-
-
-
-
-
F. Date/Time

-
-
-
- When entering the date and time of the workshop, if a portion of the day will be held online and another portion in person, please enter two rows indicating the same date with different delivery methods.
- For example, if there will be a morning session online and an afternoon session in person, this should be inputted as shown below:
-
-

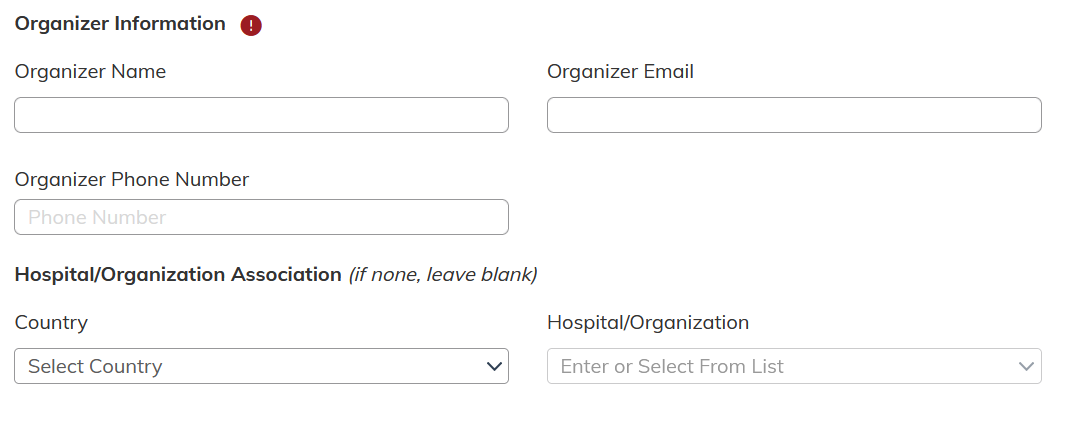
G. Organizer Information
-
-
-
- Use this section to fill out your relevant organizer and organization information.
- The organizer information and Hospital/Organization Association will not be publicly displayed for customers. It is for administrative purposes only.
-
-
H. If all the information is complete and correct, select Save and Continue in the bottom right corner to continue.

4. Workshop Description
A. The following fields will auto populate based on the workshop type and will not be editable by the trainer. All administrators can edit these fields if necessary:
-
-
-
-
-
-
-
- Description
- Who may attend
- Advanced in person training
- Advanced online offerings
- Spinning Babies® continuing education
-
-
-
-
-
-
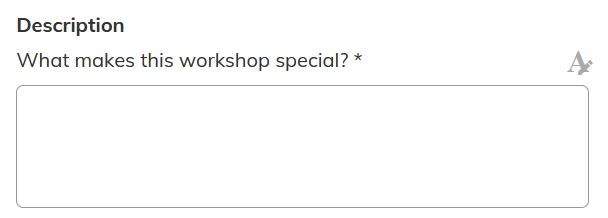
B. You can use the “What makes this workshop special?” to add details on the type of workshop.
C. You can use the “Food & refreshments” and the “Special notes” sections to add any relevant information for attendees.

D. In the “Hosted By” section, you can provide information about the organizers/hosts that will be displayed to attendees on the event page.

-
-
- You can use the “Display Publicly” button to toggle whether the host’s phone number is displayed.
-
E. In the “Trainer Information” section, select your name from the drop-down menu.

-
-
- The “About the Trainer” section will auto populate based on the trainer selected.
- Trainers are able to edit their bio on their profile page when they login. The trainer’s image will also display next to the bio on the workshop details page.
-
F. If all the information is correct and complete, select “Save and Continue” in the bottom right corner.

5. Invoice Request Form
A. The invoice request form will be required and will appear for sponsored workshops only.
B. Select your name in the drop down menu and add the Submission Date.

C. Select the urgency of the contract request.

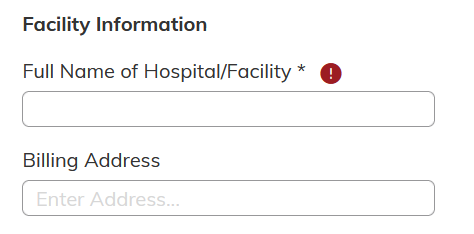
D. Fill out the Facility Information.
E. Fill out the Signer/Contact Information.

F. Enter the Agreement Amount.

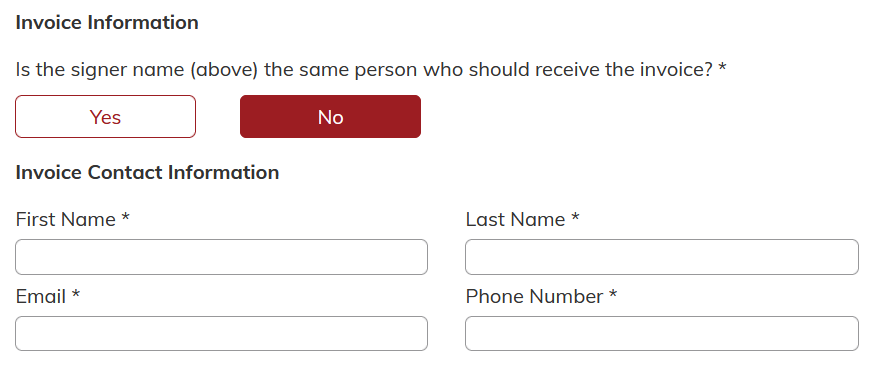
G. Indicate whether the Signer from above is who should receive the contract.

-
-
- If no, another field will appear for the Invoice Contact Request.
-
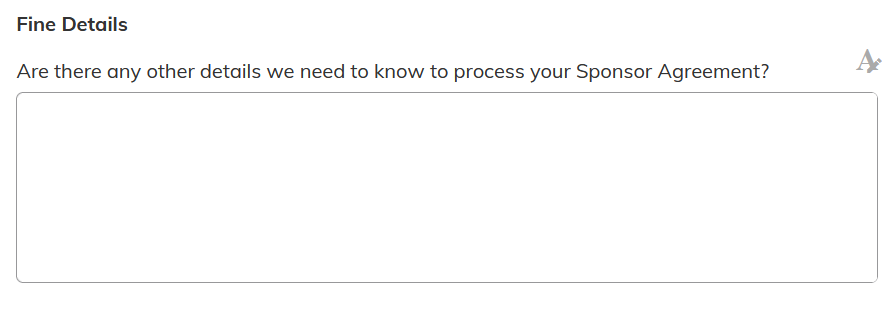
H. Use the “Fine Details” section to provide any extra information the Office might need for the contract.
I. If all the information is correct, select “Save and Continue” in the bottom right corner.

6. Ticketing Information
A. Trainers and admins can add multiple types of tickets to a workshop to accept registrations. Click “Create Ticket Type” to add tickets to the workshop.

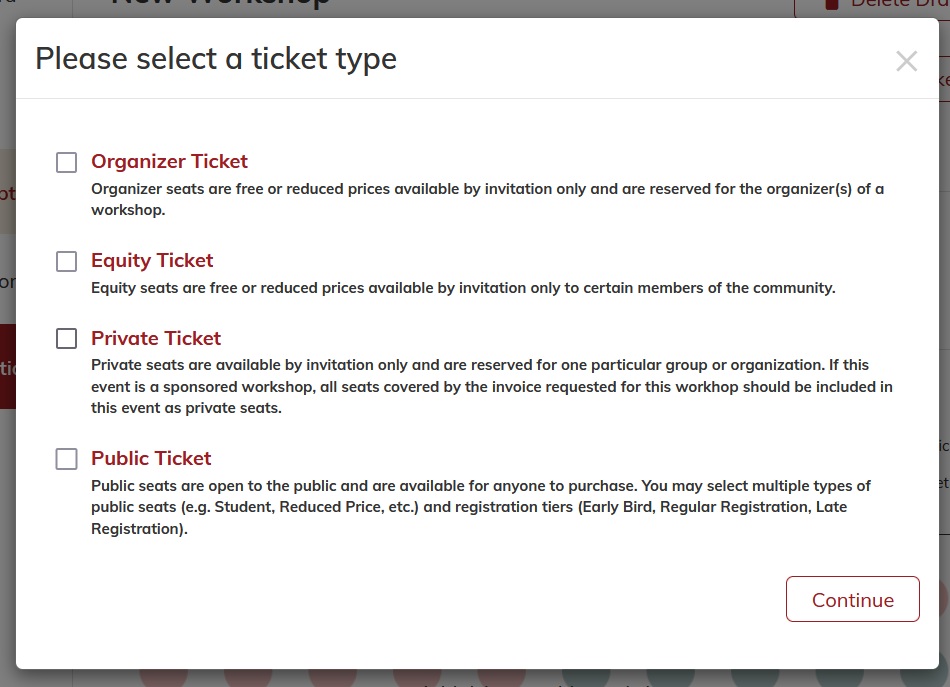
B. Organizer: An organizer ticket can be added to an event for the organizer to register. Attendees can register for private tickets by invitation only. Typically, these tickets are free of charge (enter $0), but a price can be entered if necessary.
C. Equity: Attendees can register for private tickets by invitation only. Typically, these tickets are free of charge (enter $0), but a price can be entered if necessary.
D. Private: Attendees can register for private tickets by invitation only.
E. Public: Public tickets are the only tickets that can be created for an event that are available on the public site for any customer to purchase.
-
-
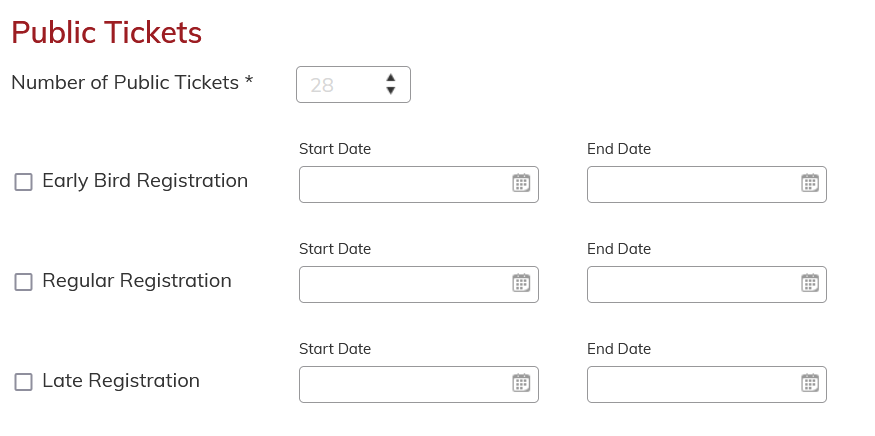
- Enter the total number of public tickets available for an event and which registration time frames should exist.
-
-
-
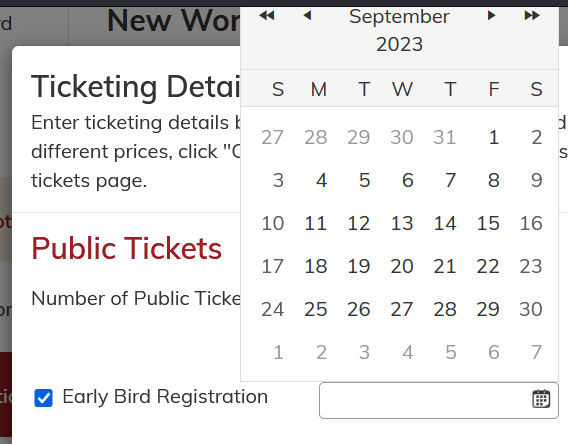
- When the checkbox next to a registration time frame is selected, the start and end dates of that time frame are required.
-
-
-
- The ticket name and description will be visible to the customer.
-

-
-
- The price fields will display for each ticket type based on the registration time frames that are selected above.
-

F. Setting a maximum number of tickets available for each ticket type will determine how many tickets of that type will be available for purchase. Selecting “No Maximum” could allow all public tickets to be that type.
-
-
- For example, if there are 20 public tickets available for a workshop, but customers can purchase a “Student Ticket” or a “Regular Ticket,” an admin or trainer can define that a maximum of 10 student tickets can be purchased and that there is no maximum of how many regular tickets can be purchased.
- In this scenario, once 10 student tickets are sold, customers will no longer be able to purchase these tickets and the remaining 10 tickets must be purchased as “Regular Tickets”, however it is possible that 20 “Regular Tickets” are sold before any “Student Tickets” are sold and public tickets will sell out.
- As many ticket types as are necessary can be added to the public ticketing section, however the sum of the maximum number of tickets available for each type must be greater than or equal to the total number of public tickets available.
-
G. Editing Tickets
-
-
- Once tickets are added, they can be edited or deleted at any point before they are registered for. Multiple rows of the same ticket type can be added.
- For example, if there should be private tickets available at two different price points, simply click “Create Ticket” a second time and select “private” to add another ticket row of the same type.
- If attendees are registered for this ticket type, the ticket can not be altered unless the attendee is refunded.
-
H. Attendee Email
-
-
- Adding an attendee email to a private ticket will automatically send the ticket to an attendee via email.
-

-
-
- Ticket invitations that are added during the event creation process will be sent via email when the event is published, not at time of creating the invitation.
-
I. If the ticket types are complete, select “Save and Continue” in the bottom right corner.

7. The Fine Print
A. The Conflict of Interest section must be filled out so we can comply with our accreditation organizations.

-
-
- Workshops that are created that have a conflict of interest will not be published until the Conflict of Interest has been discussed and resolved with the Spinning Babies® Continuing Education Manager.
- All conflicts must be disclosed.
-
B. You can provide your Cancellation Policy in the “Cancellation Policy” section.

-
-
- Spinning Babies® Cancellation Disclaimer will autofill for the workshop and can be edited by the administrator, but not by the trainer.
-
C. You can use the “Workshop Comments” section to leave comments for admins, keep track of contract status, etc. Any comments are only visible to admin and trainers

8. Review
A. Once the fields have been filled out, double check the details before selecting “Send for Review” in the bottom right corner.

B. When a trainer completes the workshop creation forms, the workshop will be sent to an admin for review.
C. All administrators in the LMS will receive an email that there is a workshop ready for review.
D. See the Workshop Draft Review Tutorial to understand how the office Admin will be reviewing the workshop.
9. Adding information to a published workshop
A. Select your event from your dashboard.
B. From the Event Page, select the red icon of a pencil in the upper right corner to edit.

C. This will bring you to the Workshop Draft Creation interface. From here, you can make your edits.
D. Make sure to save your edits by going to the “The Fine Print” section and clicking “Save Changes” in the bottom right corner.

