Registration Management
Step-by-Step Instructions
1. To access the event page for your workshop, login to the LMS and click on the tab called My Dashboard.

2. View Class List
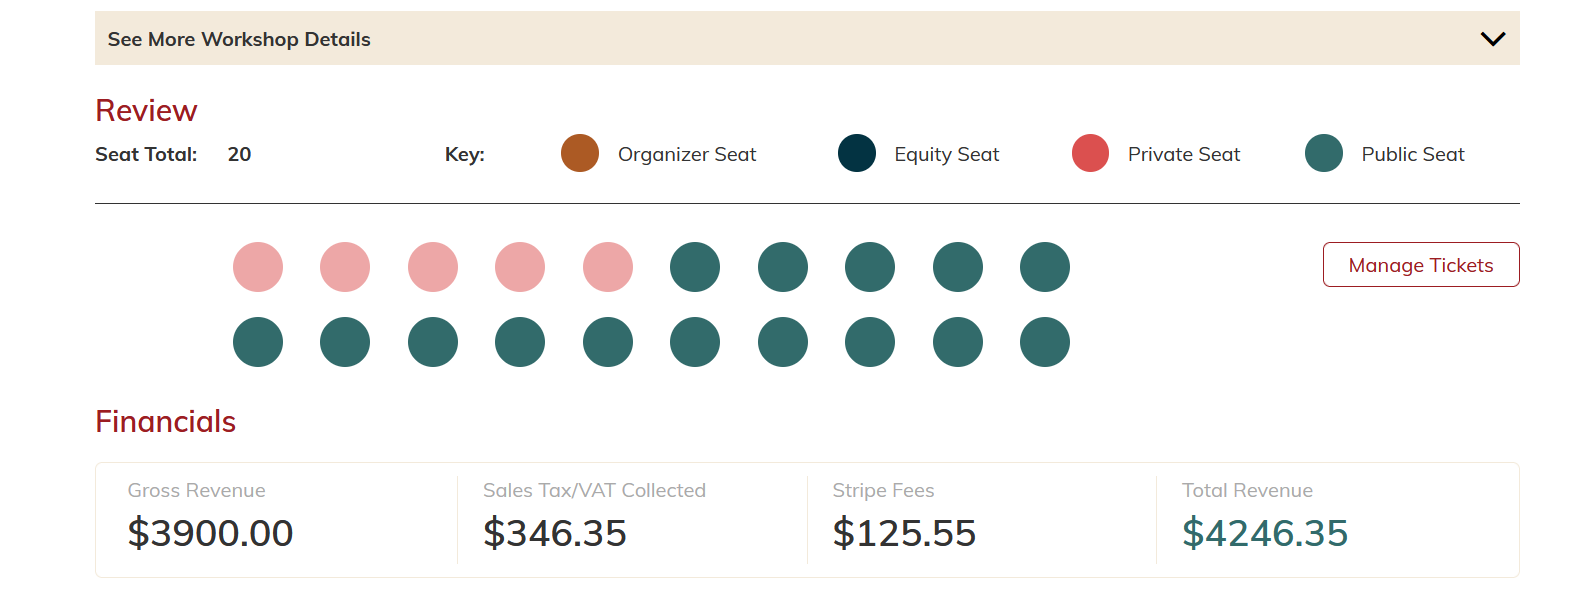
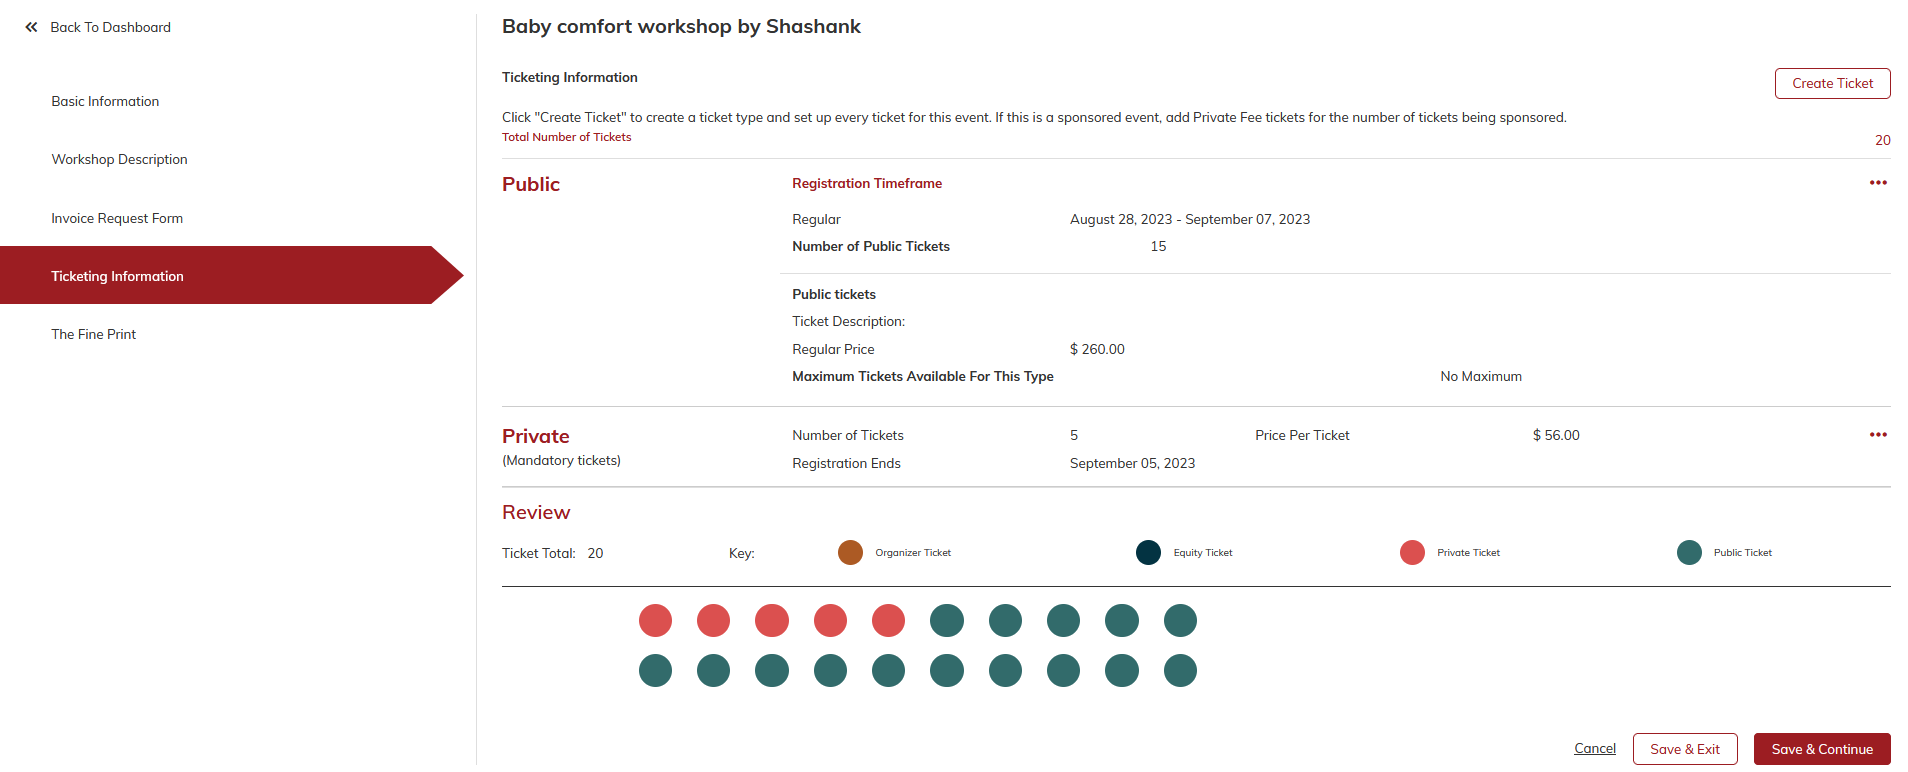
A. To see a general view of how many tickets have been purchased, scroll to the Review section under the workshop details.
B. To see a list of each registrant, scroll down to the Roster section.
-
-
-
-
-
-
-
-
- The Roster will only include attendees who have registered, and will not include open seats that have been purchased but not yet claimed.
-
-
-
-
-
-
-

3. Editing Roster
A. Adding Attendees
-
-
-
-
-
-
-
- To add an attendee to the roster, click, “Add Registration”.
-
-
-
-
-
-

-
-
-
-
-
-
- This will not require any payment to be exchanged through the LMS.
- If you are adding registrations using this function, please note that the customer must individually review the linked Terms & Conditions and Brand Usage Guidelines and accept the terms themselves. All other information can be input by the Trainer and Saved until the customer can review.
-
-
- Trainers may not accept the Terms & Conditions and Brand Guidelines on behalf of the customer.
- Note that this function is primarily meant to be used with “day of” registrations in which payment is collected outside of the LMS.
-
-
- When all the information is complete, click, “Save”.
-
-
-
-
-
B. Marking Attendance and Post-Test
-
-
-
-
-
-
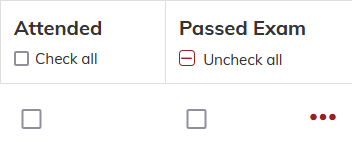
- To mark that an attendee has attended or passed their post-test, use the check boxes in the roster section.
-
-
-
-
-
-
-
-
-
-
-
- When you mark an attendee using the check boxes, the changes will automatically save.
-
-
-
-
-
C. Edit Attendee Information
-
-
-
-
-
-
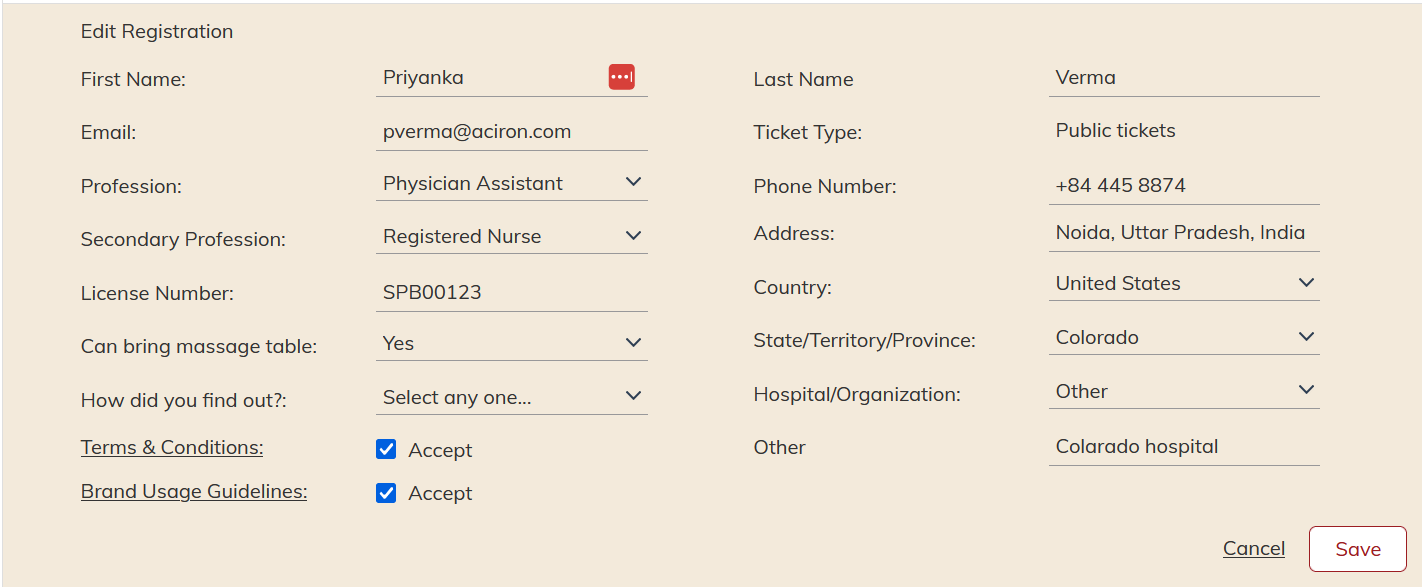
- To edit an attendee’s information, click on the three red dots on the right hand side of the attendee’s section in the roster.
-
-
-
-
-

-
-
-
-
-
-
-
- This will open a section containing the attendee’s information.
-
-
-
-
-
-
-
-
-
-
-
-
-
- Once your edits have been made, click, “Save”.
-
-
-
-
-
-
D. Download Roster
-
-
-
-
-
-
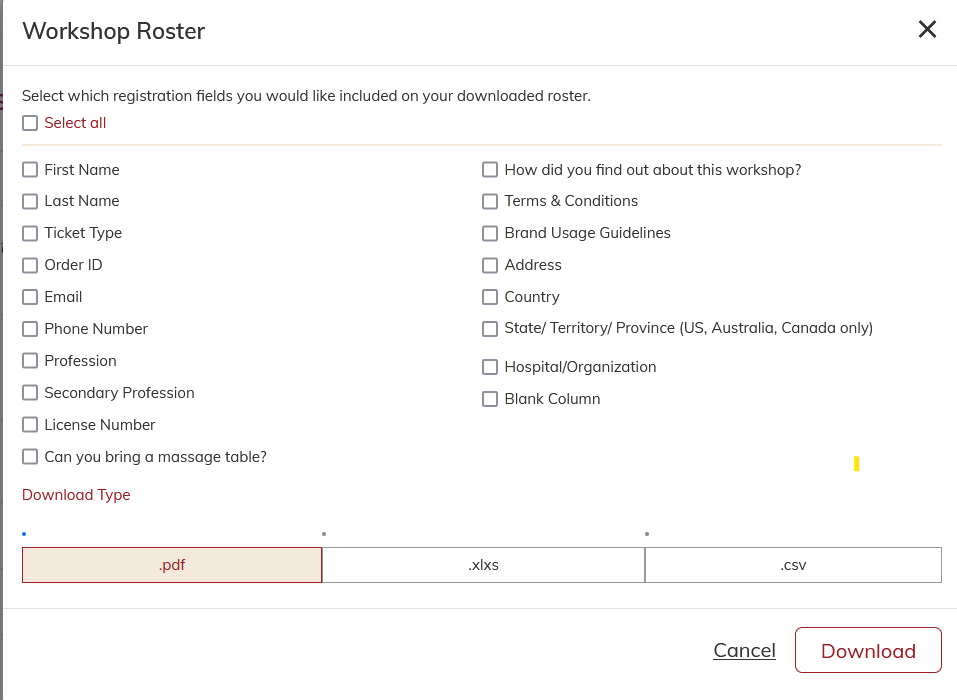
- To download your roster, click, “Download Roster”.
-
-
-
-
-

-
-
-
-
-
-
-
- You will be given an option to select the fields you would like included in the download. Next select Excel file or a CSV file and click Download to begin.
-
-
-
-
-
-
4. Manage Tickets
-
-
-
-
-
-
-
- To manage your tickets from the event page, click the “Manage Tickets” button under the “Review” header.
-
-
-
-
-
-

-
-
-
-
-
-
-
- See LMS – Private Ticket Management SOP for instructions on creating Ticket Invitations
-
-
-
-
-
-
5. Refunds
-
-
-
- To process a refund, find the attendee’s order number. You can find this in the Roster section or the Order History section.
- Click on their order number. This will take you to a page with their order details.
- Click the “Add Refund” button.
-
-

6. Transfers
There is not currently a way to process transfers in the LMS. If a customer needs to be transferred, refund them and have them re-register.
